Blog
Why Are My DTF Transfers Peeling After Wash? (5 Common Causes & Fixes)

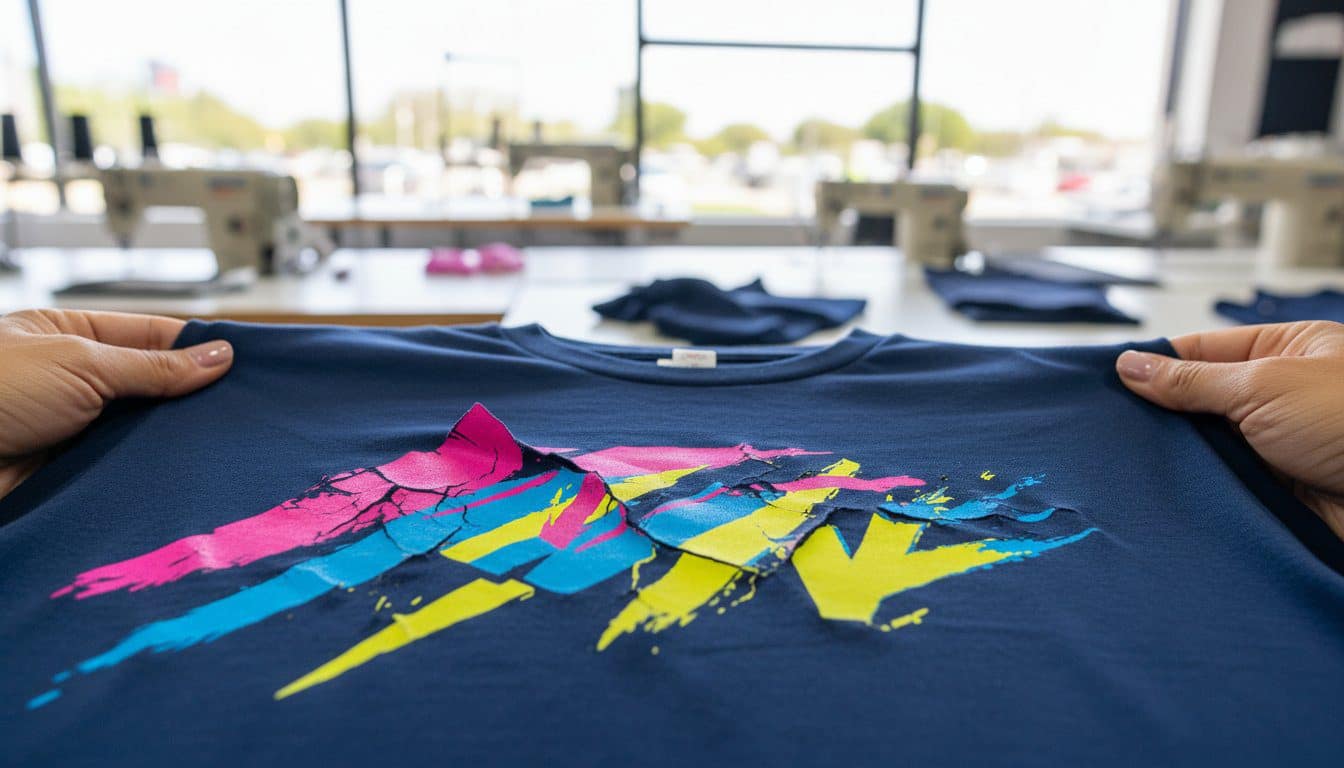
That sinking feeling when a customer sends a photo of a peeling print? It’s a gut punch to your business. Wasted garments, lost profits, and a reputation on the line-it all stems from the same frustrating problem: your dtf transfers peeling after wash. This isn’t just a minor defect; it’s a direct threat to the quality your brand promises. You’re asking the right questions: Is it my heat press? The transfers? My process? You need clear answers, and you need them fast.
Stop the guesswork. This expert guide gets straight to the point. We’ll diagnose the 5 most common causes of transfer failure and give you a simple, step-by-step checklist to fix your application process immediately. Consider this your new playbook for creating vibrant, durable custom apparel that stands up to the washing machine, every single time. Helping you press with confidence and deliver unmatched quality? It’s kinda our thing. Let’s get your prints to stick for good.
Key Takeaways
- Master your heat press settings. Correct time, temperature, and pressure are non-negotiable for durable, long-lasting prints.
- Not all transfers are created equal. Learn how to spot the signs of a low-quality transfer to prevent application failure before you press.
- The right garment prep is a critical first step. Stop dtf transfers peeling after wash by ensuring your fabric is clean, compatible, and properly pre-pressed.
- Extend the life of your custom apparel with a proper aftercare routine. Simple washing and drying rules are essential for long-term durability.
The 5 Main Culprits: A Quick Diagnostic of Why DTF Peels
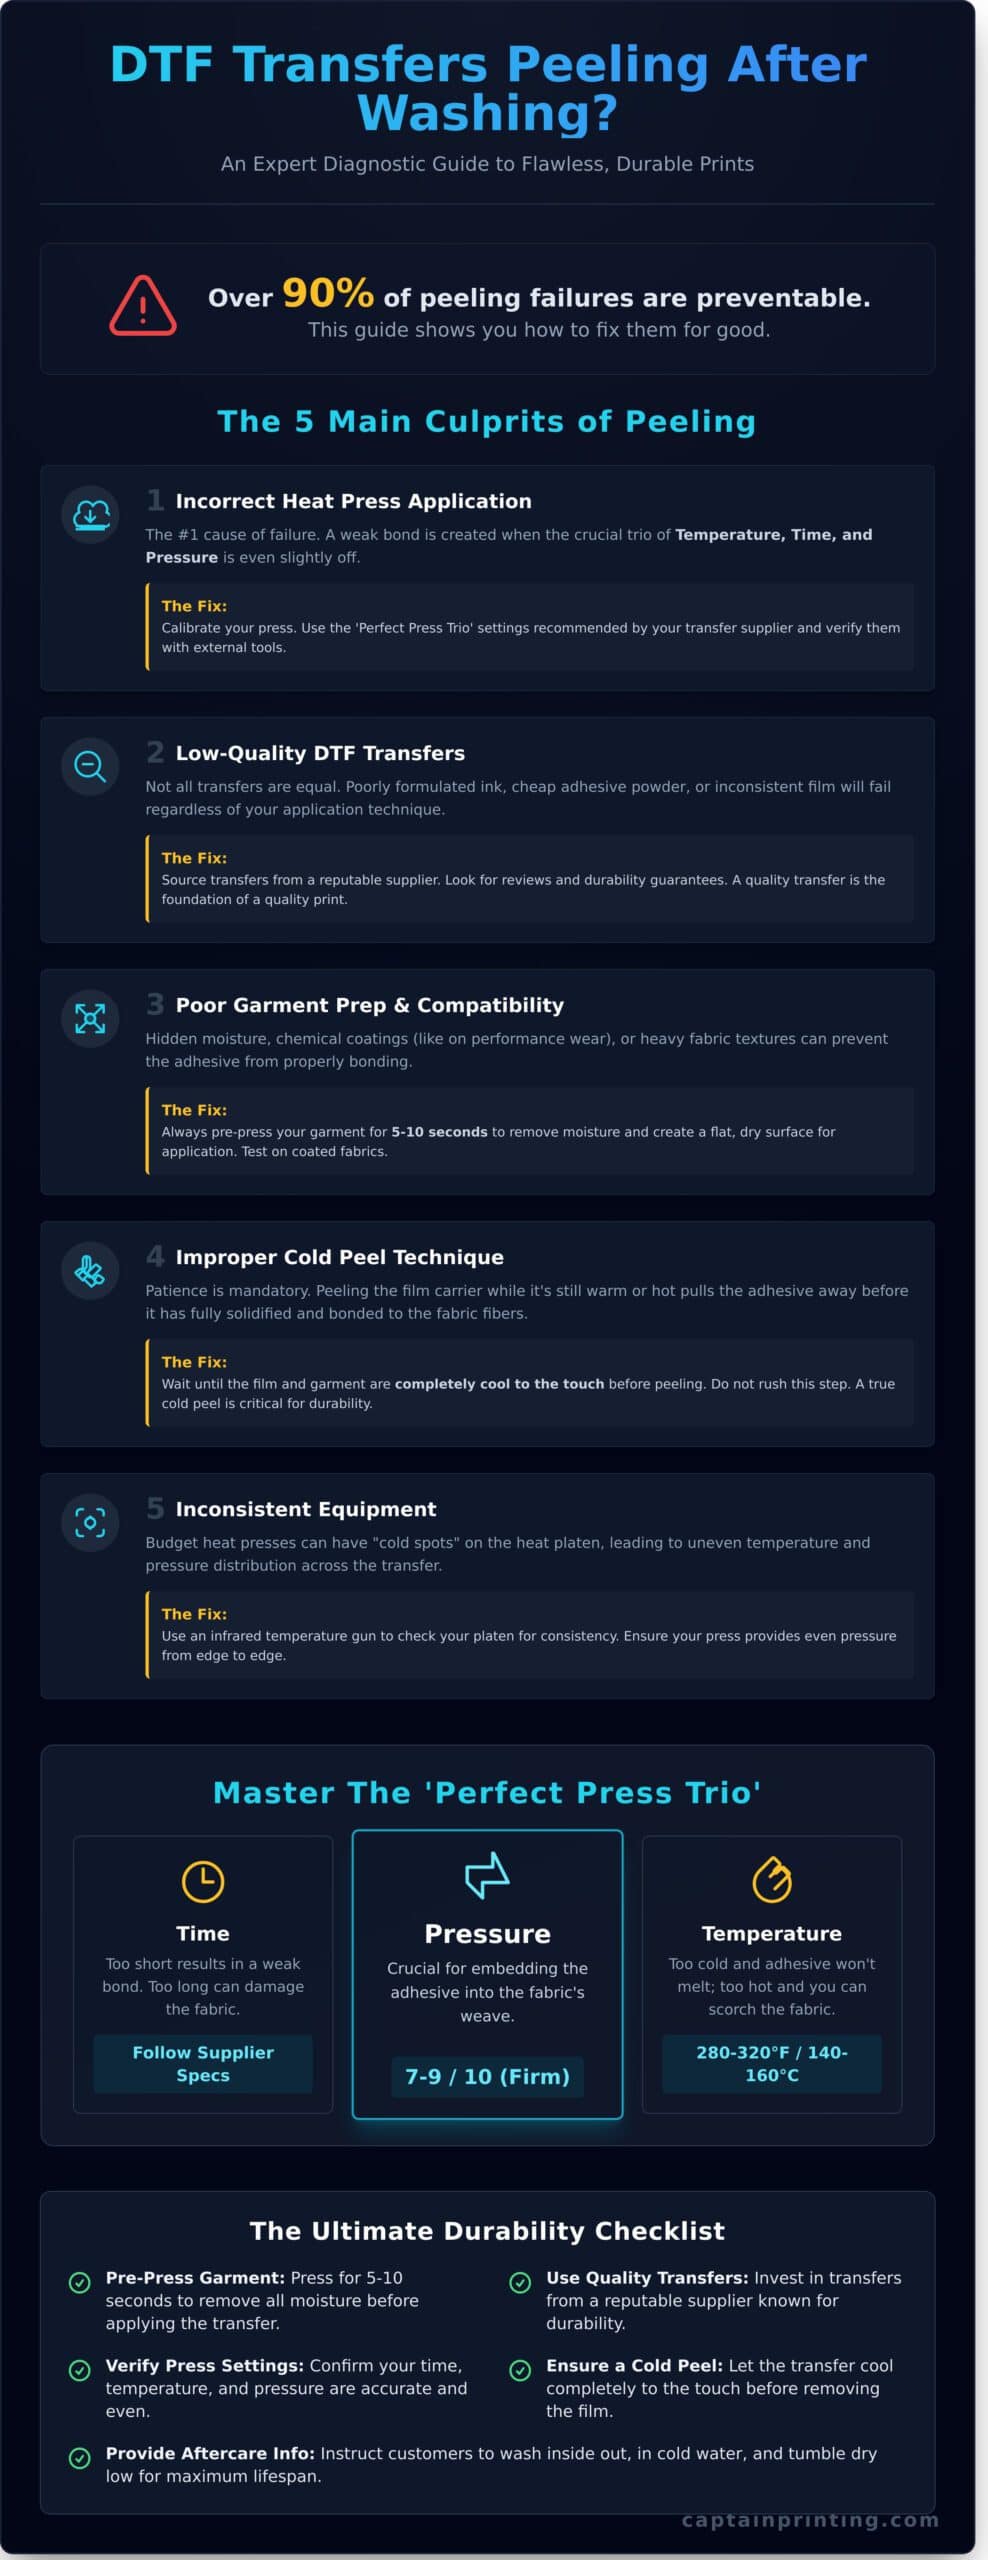
There’s nothing more frustrating than pulling a freshly washed shirt from the machine only to find your beautiful design cracked, lifted, or peeling. If you’re seeing your dtf transfers peeling after wash, you’re not alone. The good news is that this problem is almost always preventable. Over 90% of failures can be traced back to five key steps in the Direct-to-film (DTF) printing process.
This section is your quick-start guide to diagnosing the issue. We’ll outline the most common culprits so you can identify the weak point in your workflow. Think of this as the TL;DR before we dive deeper into solutions. Every one of these issues is fixable with the right knowledge and technique.
For a visual breakdown of common pressing mistakes, check out this video:
1. Incorrect Heat Press Application
This is, by far, the number one reason for DTF failure. The adhesion of the transfer to the garment is a science that depends on a perfect trio: temperature, time, and pressure. If your temperature is too low, the adhesive won’t melt correctly. If pressure is insufficient, the adhesive can’t bond with the fabric fibers. Even a few seconds too short on the timer can result in a weak bond that fails in the first wash.
2. Low-Quality DTF Transfers
Not all transfers are created equal. The final print quality is entirely dependent on the quality of its components. Issues can come from poorly formulated ink, cheap adhesive powder that doesn’t bond well, or inconsistent film that releases unevenly. Even with a perfect press technique, a low-grade transfer is engineered to fail. Always source your transfers from a reputable supplier who stands by their product’s durability.
3. Fabric Type and Garment Preparation
The garment itself can be the problem. Many performance fabrics or rain jackets have chemical coatings that actively repel water-and DTF adhesive. A hidden but common issue is moisture within the fabric; always pre-press your garment for 5-10 seconds to release any trapped moisture and create a smooth, dry surface for application. Heavily textured or stretchy fabrics can also pose a challenge, requiring specific application adjustments.
4. Improper Cold Peel Technique
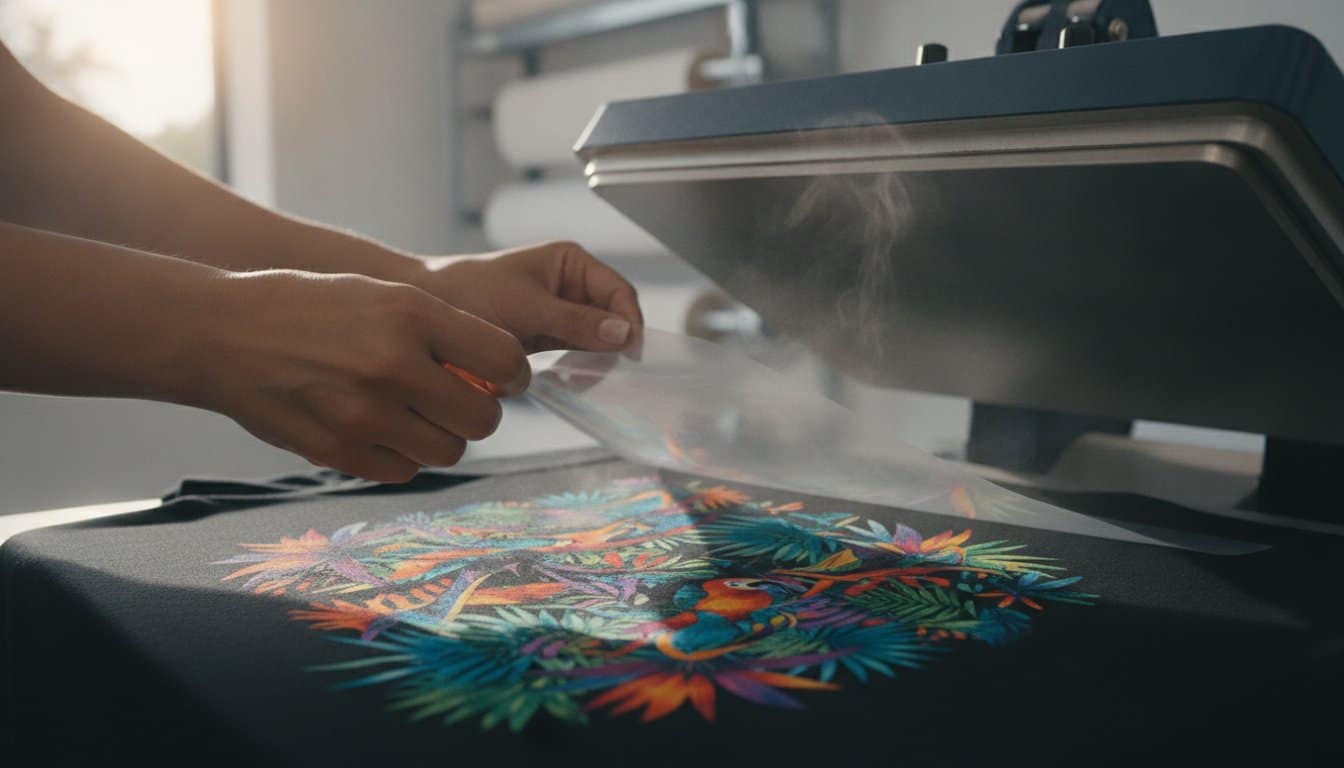
Patience is a virtue in DTF printing. DTF transfers require a “cold peel,” meaning you must wait until the film is completely cool to the touch before removing it. Peeling the film while it’s still warm or hot is a critical error. This yanks the adhesive away before it has fully solidified and bonded with the fabric, leading to almost certain peeling. Let the garment cool down completely for the most durable result.
5. Inconsistent Equipment
Your heat press itself could be sabotaging your work. Many budget-friendly presses suffer from “cold spots” on the heat platen, leading to uneven temperature distribution across the transfer. Likewise, a poorly calibrated press may not deliver even pressure from edge to edge. These equipment flaws create weak points in the adhesion, causing specific areas of your DTF transfers to peel after a wash while others remain intact.
Mastering Your Heat Press: A Deep Dive into Time, Temp, and Pressure
Your heat press is the most critical tool in your DTF printing arsenal. Inconsistent application is the number one reason for failed transfers. The goal isn’t just one good press-it’s creating a reliable, repeatable process that eliminates guesswork and ensures your designs last. Get these three variables right, and you’ll solve most peeling problems before they start.
Temperature: Finding the Sweet Spot
Always start with the recommended temperature from your DTF transfer supplier, which is typically between 280-320°F (140-160°C). However, your press display can be inaccurate. Use an infrared temperature gun to verify the actual surface temperature of your platen. Check multiple spots to identify any cold zones, which cause uneven adhesion and are a direct cause of dtf transfers peeling after wash. Too hot, and you risk scorching the garment; too cold, and the adhesive won’t melt correctly for a strong bond.
Pressure: More Important Than You Think
DTF requires firm, even pressure to succeed. Aim for 60-80 PSI on a pneumatic press or a setting of 7-9 (out of 10) on a manual press. The goal is to physically embed the transfer’s adhesive into the fabric’s weave. This process relies on the scientific principles of polymer adhesion, where proper pressure ensures the melted polymer makes maximum contact with the textile fibers. You’ll know you’ve nailed it when you can see the fabric’s texture through the design after pressing.
Time & Dwell: The Final Piece
Timing is the final variable to lock in for maximum durability. An inconsistent press time is a simple but common reason why you might see dtf transfers peeling after wash. Follow this two-step process for the best results:
- First Press: Press the transfer for 10-15 seconds. This melts the adhesive and bonds the design to the garment. Follow your supplier’s instructions for a hot, warm, or cold peel.
- Second Press: After peeling the film, cover the design with a Teflon sheet or parchment paper and press again for 5-7 seconds. This step is critical for setting the ink and maximizing wash resistance.
The Quality Factor: How to Spot a Bad Transfer (And Choose a Good One)
You’ve perfected your heat press technique-correct temperature, ideal pressure, and precise timing. Yet, you still see dtf transfers peeling after wash. The problem might not be your process; it could be the transfer itself. A high-quality DTF transfer relies on three core components working in harmony: the ink, the adhesive powder, and the release film. If any one of these fails, the entire application is compromised.
The Role of Ink and Adhesive Powder
Vibrant color is only half the battle. High-quality DTF ink is formulated for flexibility, allowing it to stretch with the fabric and withstand repeated washing without cracking. The real hero, however, is the adhesive powder. This is what bonds the ink to the garment fibers. For a durable bond, the powder must be high-grade, applied evenly across the entire design, and fully cured. A weak bond is a primary cause of peeling, a concept supported by the scientific analysis of textile adhesion, which shows how material properties directly impact durability during washing. Before pressing, inspect the back of your transfer. If you see clumps, sparse areas, or an inconsistent texture, you’re looking at a future failure.
Film Type and Peeling Properties
The type of film used is critical for a successful application. Premium transfers use a ‘cold peel’ film, which is essential for maximum durability. A cold peel process allows the adhesive to cool completely and create a permanent bond with the fabric before the film is removed. A quality film will release smoothly and cleanly, leaving the entire design behind. If you have to fight to remove the film or it leaves a sticky residue, it’s a clear red flag of inferior materials. Our custom DTF transfers use premium cold peel film for proven, industry-leading washability.
Consistency is Key for Professionals
For any business, consistency is profit. When you work with an unreliable supplier, you’re constantly troubleshooting. One batch of transfers might press perfectly at 300°F, while the next requires 315°F and more pressure. This guesswork wastes time, ruins garments, and kills your margins. Partnering with a trusted supplier eliminates the biggest variable in your production process. You can dial in your settings and focus on what matters: creating great products and growing your business. Stop troubleshooting and start printing. Design and order consistent, high-quality prints with our easy gang sheet builder today.
Garment Prep and Fabric Compatibility: A Crucial First Step
You can’t build a strong house on a weak foundation. The same rule applies to DTF printing. Your garment is the foundation for your transfer, and many frustrating issues-especially dtf transfers peeling after wash-start right here, before your heat press is even on. While it’s easy to focus on press time and temperature, overlooking the garment itself is a critical error. Getting this initial step right is your best defense against application failure and ensures a durable, professional finish that lasts.
Pre-Pressing is Non-Negotiable
Consider this your golden rule: always pre-press your garment. A quick 5-7 seconds under the heat press before you position your transfer is all it takes. This simple action does two critical things. First, it vaporizes any hidden moisture trapped in the fabric fibers. Second, it removes wrinkles and creases, creating a perfectly smooth and stable surface for the transfer. If you skip this, that trapped moisture turns to steam during the main press, pushing against the adhesive and preventing a strong bond. This is a primary cause of lifting edges and eventual peeling.
Understanding Fabric Compatibility
DTF is a powerhouse technology known for its versatility, but fabric choice still matters. For the best results, you need to know what you’re pressing onto. The adhesive is designed to bond directly with fabric fibers, and anything that gets in the way can compromise the application.
Here’s a quick guide:
- Excellent Compatibility: 100% Cotton, 100% Polyester, and Poly-Cotton Blends (like 50/50 or 60/40). These fabrics provide a clean, fibrous surface for the adhesive to grab onto.
- Use Extreme Caution: Any fabric with a special coating. This includes waterproof nylon jackets, stain-resistant workwear, or fire-retardant uniforms. These chemical treatments create an invisible barrier that physically blocks the DTF adhesive from reaching the fibers.
If you’re ever unsure about a garment, press a small test transfer on a discreet area first. A quick test is the most effective way to prevent an entire batch of dtf transfers peeling after wash. When you combine proper garment prep with expertly made transfers, like those from Captain Printing, you set yourself up for flawless results every time.
The Definitive Aftercare Guide to Make Your DTF Prints Last
Your job isn’t finished when the heat press cools down. A perfect application can still fail if the garment isn’t cared for correctly. Providing your customers with simple aftercare instructions is a crucial step that adds value to your service and prevents user-error complaints. Many cases of dtf transfers peeling after wash are simply due to improper care, not a faulty print. Use this guide to educate your customers and ensure every print has a long, vibrant life.
The First 24-48 Hours are Critical
Instruct your customers to wait at least 24 hours, and ideally 48 hours, before the first wash. This critical curing period allows the transfer’s adhesive to fully bond with the fabric fibers, creating a permanent connection. Washing the garment too soon is a primary cause of peeling and cracking, as the bond hasn’t reached its maximum strength yet.
Correct Washing Instructions
To prevent dtf transfers peeling after wash and maintain color vibrancy, follow these simple washing rules. Consistency is key to longevity.
- Turn Garment Inside Out: This protects the print from abrasion caused by other clothes and the washing machine drum.
- Use Cold Water: Always wash on a cold, gentle cycle. Hot water can weaken the adhesive and cause the transfer to soften or lift.
- Avoid Harsh Chemicals: Do not use bleach or strong, aggressive detergents. Most importantly, never use liquid fabric softeners, as they contain chemicals that can degrade the print’s adhesive over time.
Drying and Ironing Rules
How you dry the garment is just as important as how you wash it. High heat is the enemy of any DTF print.
- Low Heat or Hang Dry: For maximum durability, hang the garment to air dry. If you must use a machine, tumble dry on the lowest possible heat setting.
- Never Iron Directly on the Print: The intense, direct heat from an iron will melt the transfer and ruin both the design and your iron.
- Iron Inside Out: If the garment needs ironing, turn it completely inside out and use a low-to-medium heat setting, avoiding prolonged contact over the printed area.
By following and sharing these guidelines, you ensure every print you sell looks its best for dozens of washes. For vibrant, durable prints that stand up to proper care, get your custom DTF transfers from Captain Printing today.
Achieve Peel-Proof Prints Every Time
The frustration of dtf transfers peeling after wash often boils down to a few key variables. Mastering your heat press settings-accurate time, temperature, and pressure-is non-negotiable for a strong bond. Equally important is starting with a high-quality transfer, as subpar materials are a primary cause of failure. By combining a precise application process with proper garment care, you can ensure your designs remain vibrant and securely fused, wash after wash.
Why leave quality to chance? Eliminate one of the biggest variables by using transfers engineered for durability. Trusted by thousands of businesses and creators, Captain Printing delivers vibrant, durable prints that last. Get super fast shipping on all orders and create with confidence. Stop the guesswork. Order reliable, wash-tested DTF transfers today.
With these fixes in your toolkit, you’re ready to press prints that not only look great but are built to last.
Frequently Asked Questions
Can you re-press a DTF transfer that has started to peel?
Yes, you can attempt to re-press a peeling DTF transfer as a temporary fix. Place a piece of parchment paper over the design and press it for 5-10 seconds at the recommended temperature. This can help re-adhere the lifting edges. However, this does not fix the root cause of the peeling, which is often improper initial application. For a permanent solution, ensure your first press has the correct time, temperature, and pressure.
How many washes should a high-quality DTF transfer last?
A professionally applied, high-quality DTF transfer should last for 50-100 washes, often outlasting the garment itself. This durability rivals traditional screen printing. The key to longevity is a perfect application with a quality heat press and proper garment care. To maximize the life of the print, wash garments inside out with cold water and tumble dry on a low heat setting. Avoid using harsh detergents or bleach.
Does the type of t-shirt fabric affect how well DTF transfers stick?
Absolutely. While DTF is versatile, the fabric type is critical for a strong bond. Cotton, polyester, and cotton/poly blends provide the best results due to their stable surfaces. Textured fabrics like heavy rib-knit or loosely woven materials can be challenging because the adhesive may not make full contact. For heat-sensitive fabrics like 100% polyester, use lower temperature settings as recommended by your transfer supplier to prevent scorching and ensure proper adhesion.
Why is my DTF transfer cracking instead of peeling?
Cracking and peeling are different issues. Peeling is an adhesion failure, where the transfer lifts off the fabric. Cracking is when the ink layer itself splits. This is typically caused by using a low-quality transfer with poor elasticity, over-stretching the garment, or improper curing during the printing process. To avoid having dtf transfers peeling after wash, you need proper adhesion. To avoid cracking, you need high-quality, flexible transfers.
Is it better to use a clamshell press or a swing-away press for DTF?
Both clamshell and swing-away presses can produce excellent results. The most important factor is the ability to deliver even, consistent pressure and accurate temperature. A swing-away press makes it easier to achieve perfectly even pressure across the entire design, which is a slight advantage. However, a high-quality clamshell press is faster for production and works perfectly well when calibrated correctly. Choose the press that best fits your workspace and volume.
What’s the difference between a hot peel and a cold peel DTF transfer?
The difference lies in when you remove the carrier film after pressing. For a hot peel transfer, you remove the film immediately while the garment is still hot. For a cold peel, you must wait until the transfer and garment have cooled down completely. Cold peel transfers often provide a stronger bond and a smoother, more matte finish, which helps prevent dtf transfers peeling after wash. Always follow the specific instructions provided by your transfer supplier.
Can I use a home iron to apply DTF transfers?
We strongly advise against using a home iron. An iron cannot deliver the consistent temperature or, more importantly, the heavy, even pressure required for the DTF adhesive to properly bond with the fabric fibers. Using an iron is a primary cause of transfers failing and peeling after the first wash. A quality heat press is an essential tool for achieving professional, durable results that will last.