Whether you’re running a business, starting a side hustle, or just exploring DTF transfers as a hobby, achieving the right temperature settings is essential to ensure your designs adhere well and last long. Here, Captain Printing breaks down everything you need to know about applying DTF transfers effectively, from choosing the right temperature to perfecting your peel time.
Table of Contents
- Understanding DTF Film Types
- Best Temperature by Material Type
- Using a Heat Press
- Using a Handheld Press
- Using an Iron
- Determining the Right Transfer Time
- Perfecting Peel Time
- Conclusion
- Frequently Asked Questions
Understanding DTF Film Types
DTF transfers come in various film types, and each may have specific temperature requirements. Different DTF films may require slight adjustments in temperature or pressure to adhere effectively. Always check the manufacturer’s recommended settings for optimal results.
Image: A close-up image of different DTF films labeled with their ideal temperature ranges for easy reference.
Best Temperature by Material Type
The fabric type significantly impacts the temperature and pressing time needed. Here’s a quick guide to the best temperatures for popular materials:
| Material | Recommended Temperature (°F) |
| 100% Cotton | 350–375°F |
| Polyester | 300–325°F |
| Cotton-Poly Blends | 325–350°F |
Why Material Matters
Cotton fabrics generally require a higher temperature to transfer designs effectively, while synthetic fabrics like polyester need lower temperatures to prevent scorching. Blended materials fall somewhere in between, so testing and adjusting are key.
Image: A comparison chart showcasing different fabric types alongside their optimal temperature settings.
Using a Heat Press
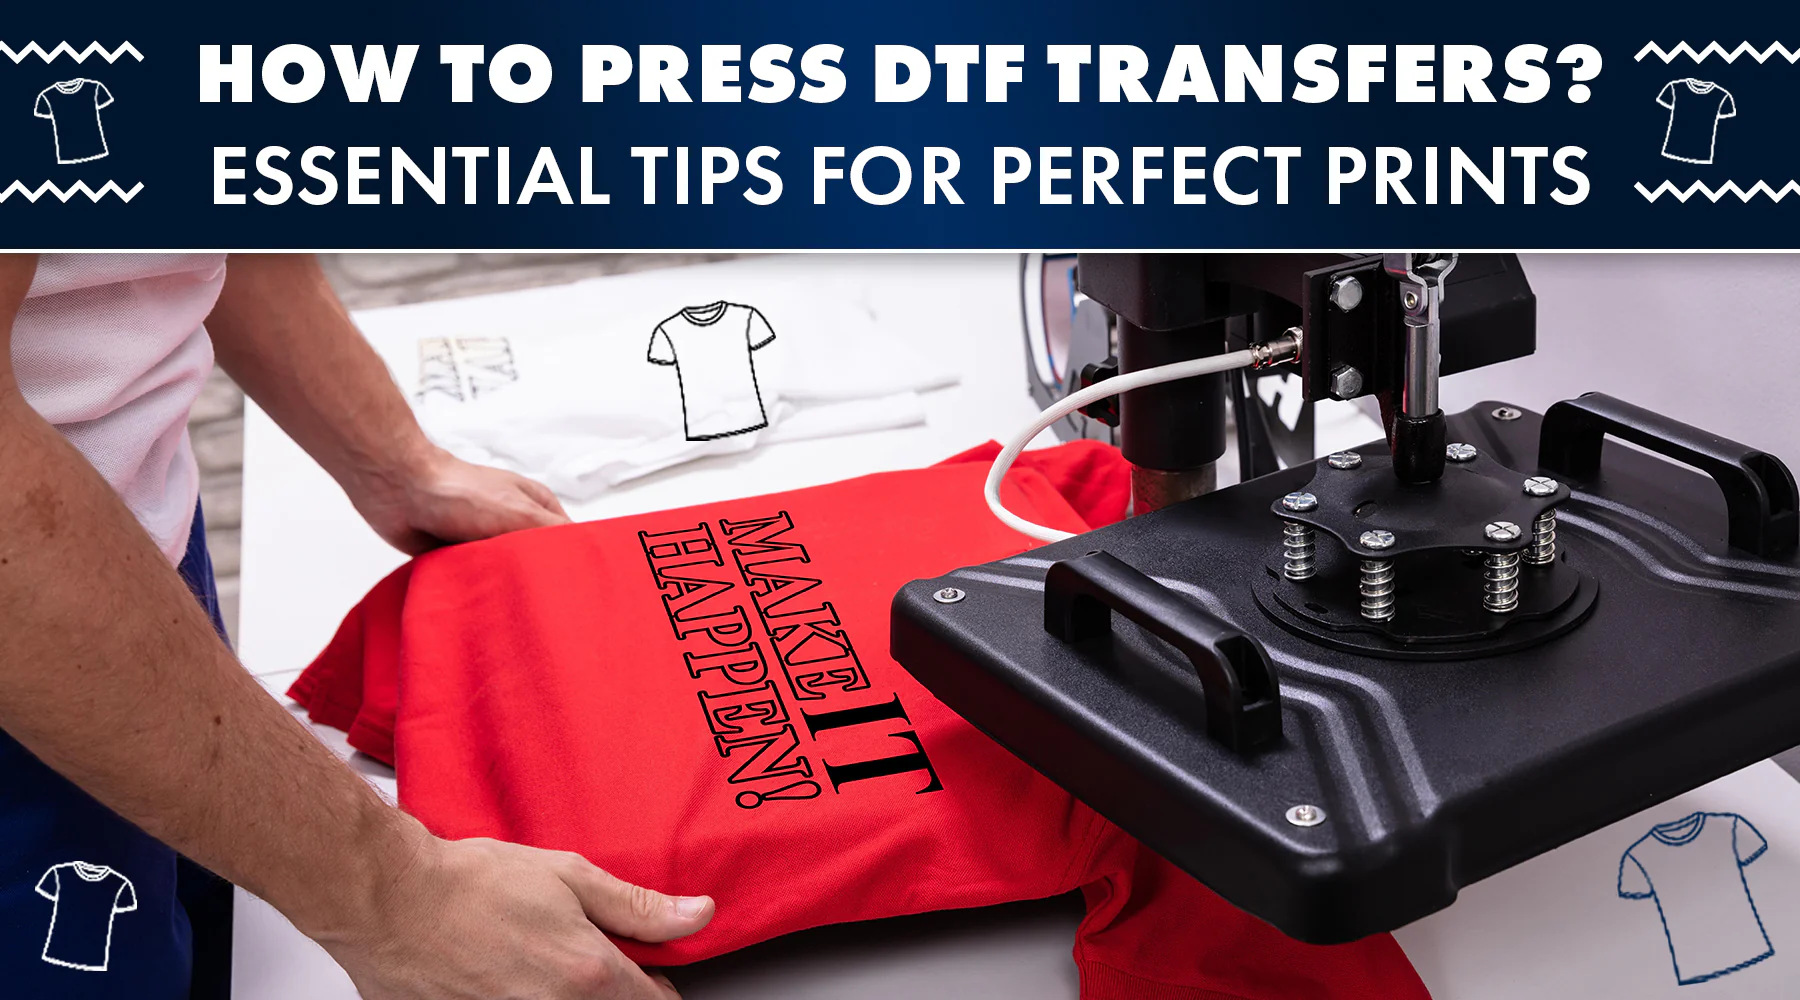
When using a heat press, precise temperature control and even pressure distribution make this tool ideal for DTF transfers.
- Temperature: 310°F – 320°F
- Time: 12-15 seconds
- Pressure: Medium to high
A heat press ensures consistent results, which is crucial for high-quality, durable transfers. Always test a sample before starting full production.
Image: Photo of a heat press in action, pressing a DTF transfer onto a t-shirt. Video: A short video tutorial demonstrating the setup and use of a heat press for DTF transfers, showing step-by-step settings.
Using a Handheld Press
Handheld presses, though smaller, can achieve good results with DTF transfers when used correctly.
- Temperature: Start at 320°F and increase by 15°F increments if needed
- Time: 20 seconds
- Pressure: Firm
Monitor the temperature carefully, as some handheld presses may not heat as evenly as a full-sized heat press. Firm, consistent pressure is also essential.
Image: Photo of a handheld press on a garment, showing hands pressing down firmly. Tip: Conduct a test on a small fabric piece to ensure the transfer is adhering well at the chosen temperature.
Using an Iron
Using a household iron can be a convenient alternative, though it’s less precise. Here’s how to make it work:
- Temperature: Set to the cotton/linen setting, starting on the lower side.
- Time: 20 seconds
- Pressure: Apply as much even pressure as possible
Be mindful of the iron’s temperature settings, as they vary by model. Consider using a thermometer to verify the iron’s heat level.
Image: An iron pressing a DTF transfer onto a shirt with a piece of parchment paper in between. Video: Quick demonstration video showing how to use a household iron for DTF transfers, including tips on achieving even pressure.
Determining the Right Transfer Time
Transfer time depends on factors like the type of press used, fabric, and DTF film. Generally, it ranges from 15 to 30 seconds, but always consult manufacturer recommendations for the best results.
Image: A stopwatch beside a transfer setup, symbolizing timing importance. Pro Tip: Test on a scrap piece of fabric first to find the best transfer time.
Perfecting Peel Time
Peel time is critical to prevent lifting or tearing of your design. Most DTF transfers require a cool peel, but some may allow for a hot peel.
- Cool Peel: Wait until the transfer is completely cool to touch.
- Hot Peel: Wait just a few seconds, then gently peel.
Captain Printing’s Easy Peel technology allows for flexibility, so test and adjust to see which works best with your equipment and materials.
Image: Hands peeling a DTF film from a shirt with clear transfer results visible. Video: Demonstrate hot and cool peeling with a brief explanation of the benefits of each.
Conclusion
Using the right temperature settings is vital for achieving vibrant, durable DTF transfers. Each piece of equipment—heat press, handheld press, or household iron—has unique settings and techniques to consider. Remember, the right temperature varies with fabric and film type, so testing will be your best guide.
Image: A banner image of several garments with vibrant, successfully applied DTF transfers to end on a strong visual note.
Ready to start applying DTF transfers? With these tips, you’ll be able to press with confidence. And remember, Captain Printing is here for all your DTF supplies and support!
Frequently Asked Questions
What temperature should I use for DTF transfers on cotton shirts?
Cotton shirts require a higher temperature, typically between 350–375°F, to ensure the transfer adheres well and remains vibrant.
Can I use a household iron for DTF transfers?
Yes, but make sure to use the cotton/linen setting and apply firm, even pressure. For best results, use parchment paper as a protective layer.
How do I prevent scorching on polyester garments?
Polyester is sensitive to high heat. Use a lower temperature (300–325°F) and test on a small area before applying the transfer fully.
Should I peel hot or cold for DTF transfers?
It depends on the film type, but most DTF transfers work best with a cool peel. For hot peel, wait a few seconds before peeling to avoid lifting.
Contact Captain Printing Support: If you have any more questions or need assistance, reach out to our support team at support@captainprinting.com or call 305-930-4700.
Images and Videos Summary:
Throughout the blog, images of different presses, peeling techniques, and temperature charts provide visual guidance for readers. Brief tutorial videos can be added for steps like pressing with a household iron or a handheld press, as well as demonstrations of cool vs. hot peel techniques. Each visual element serves to simplify and enhance the reading experience.
